The Ultimate Step-by-Step Guide to Installing a Clover Lawn


Why Choose Clover for Your Lawn?
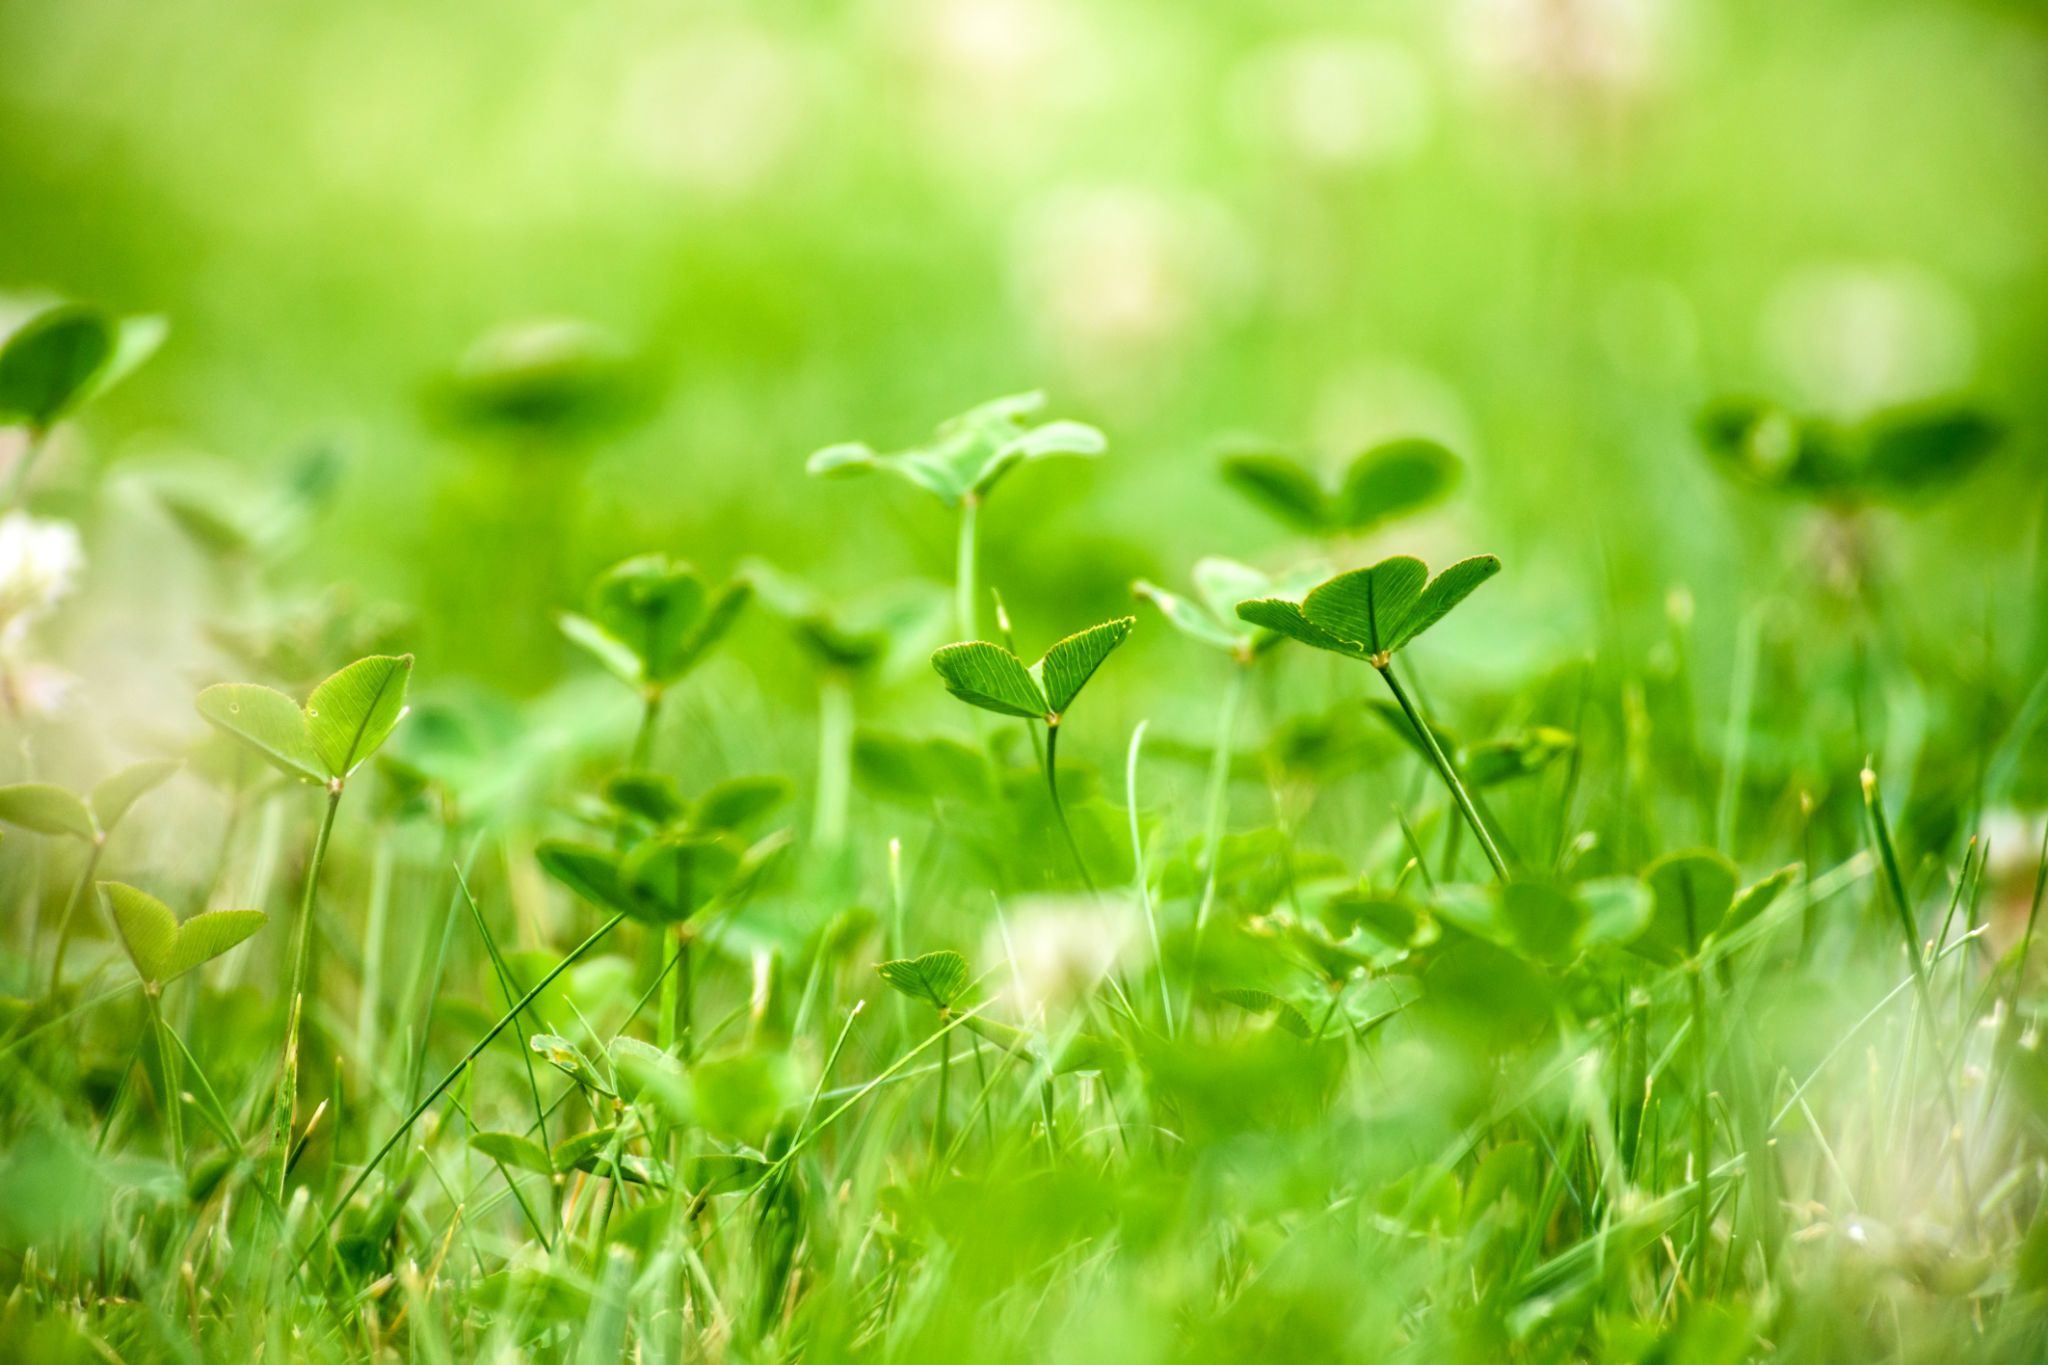
Many homeowners are turning to clover as an alternative to traditional grass lawns. Clover offers numerous benefits, including low maintenance, resilience, and a lush, green appearance all year round. Unlike grass, clover requires less mowing, fertilization, and watering, making it an eco-friendly choice for your landscape.
Additionally, clover is more drought-tolerant than grass, thriving in various soil types and conditions. Its robust nature also means fewer weeds and pests, reducing the need for chemical treatments. If you're considering a low-maintenance, environmentally friendly lawn option, clover might be the perfect solution.
Preparing Your Lawn
Before installing a clover lawn, proper preparation is essential. Start by removing any existing grass or weeds from your lawn area. This can be done manually or by using a herbicide. Ensure that the soil is well-drained and amend it with organic matter if necessary to improve soil quality.
Once the area is clear, level the soil to create a smooth surface. This helps ensure even clover coverage and prevents water pooling. Consider testing your soil's pH level; clover thrives in slightly acidic to neutral pH (6.0-7.0). If needed, adjust the pH with lime or sulfur to reach the optimal range.

Choosing the Right Clover Seeds
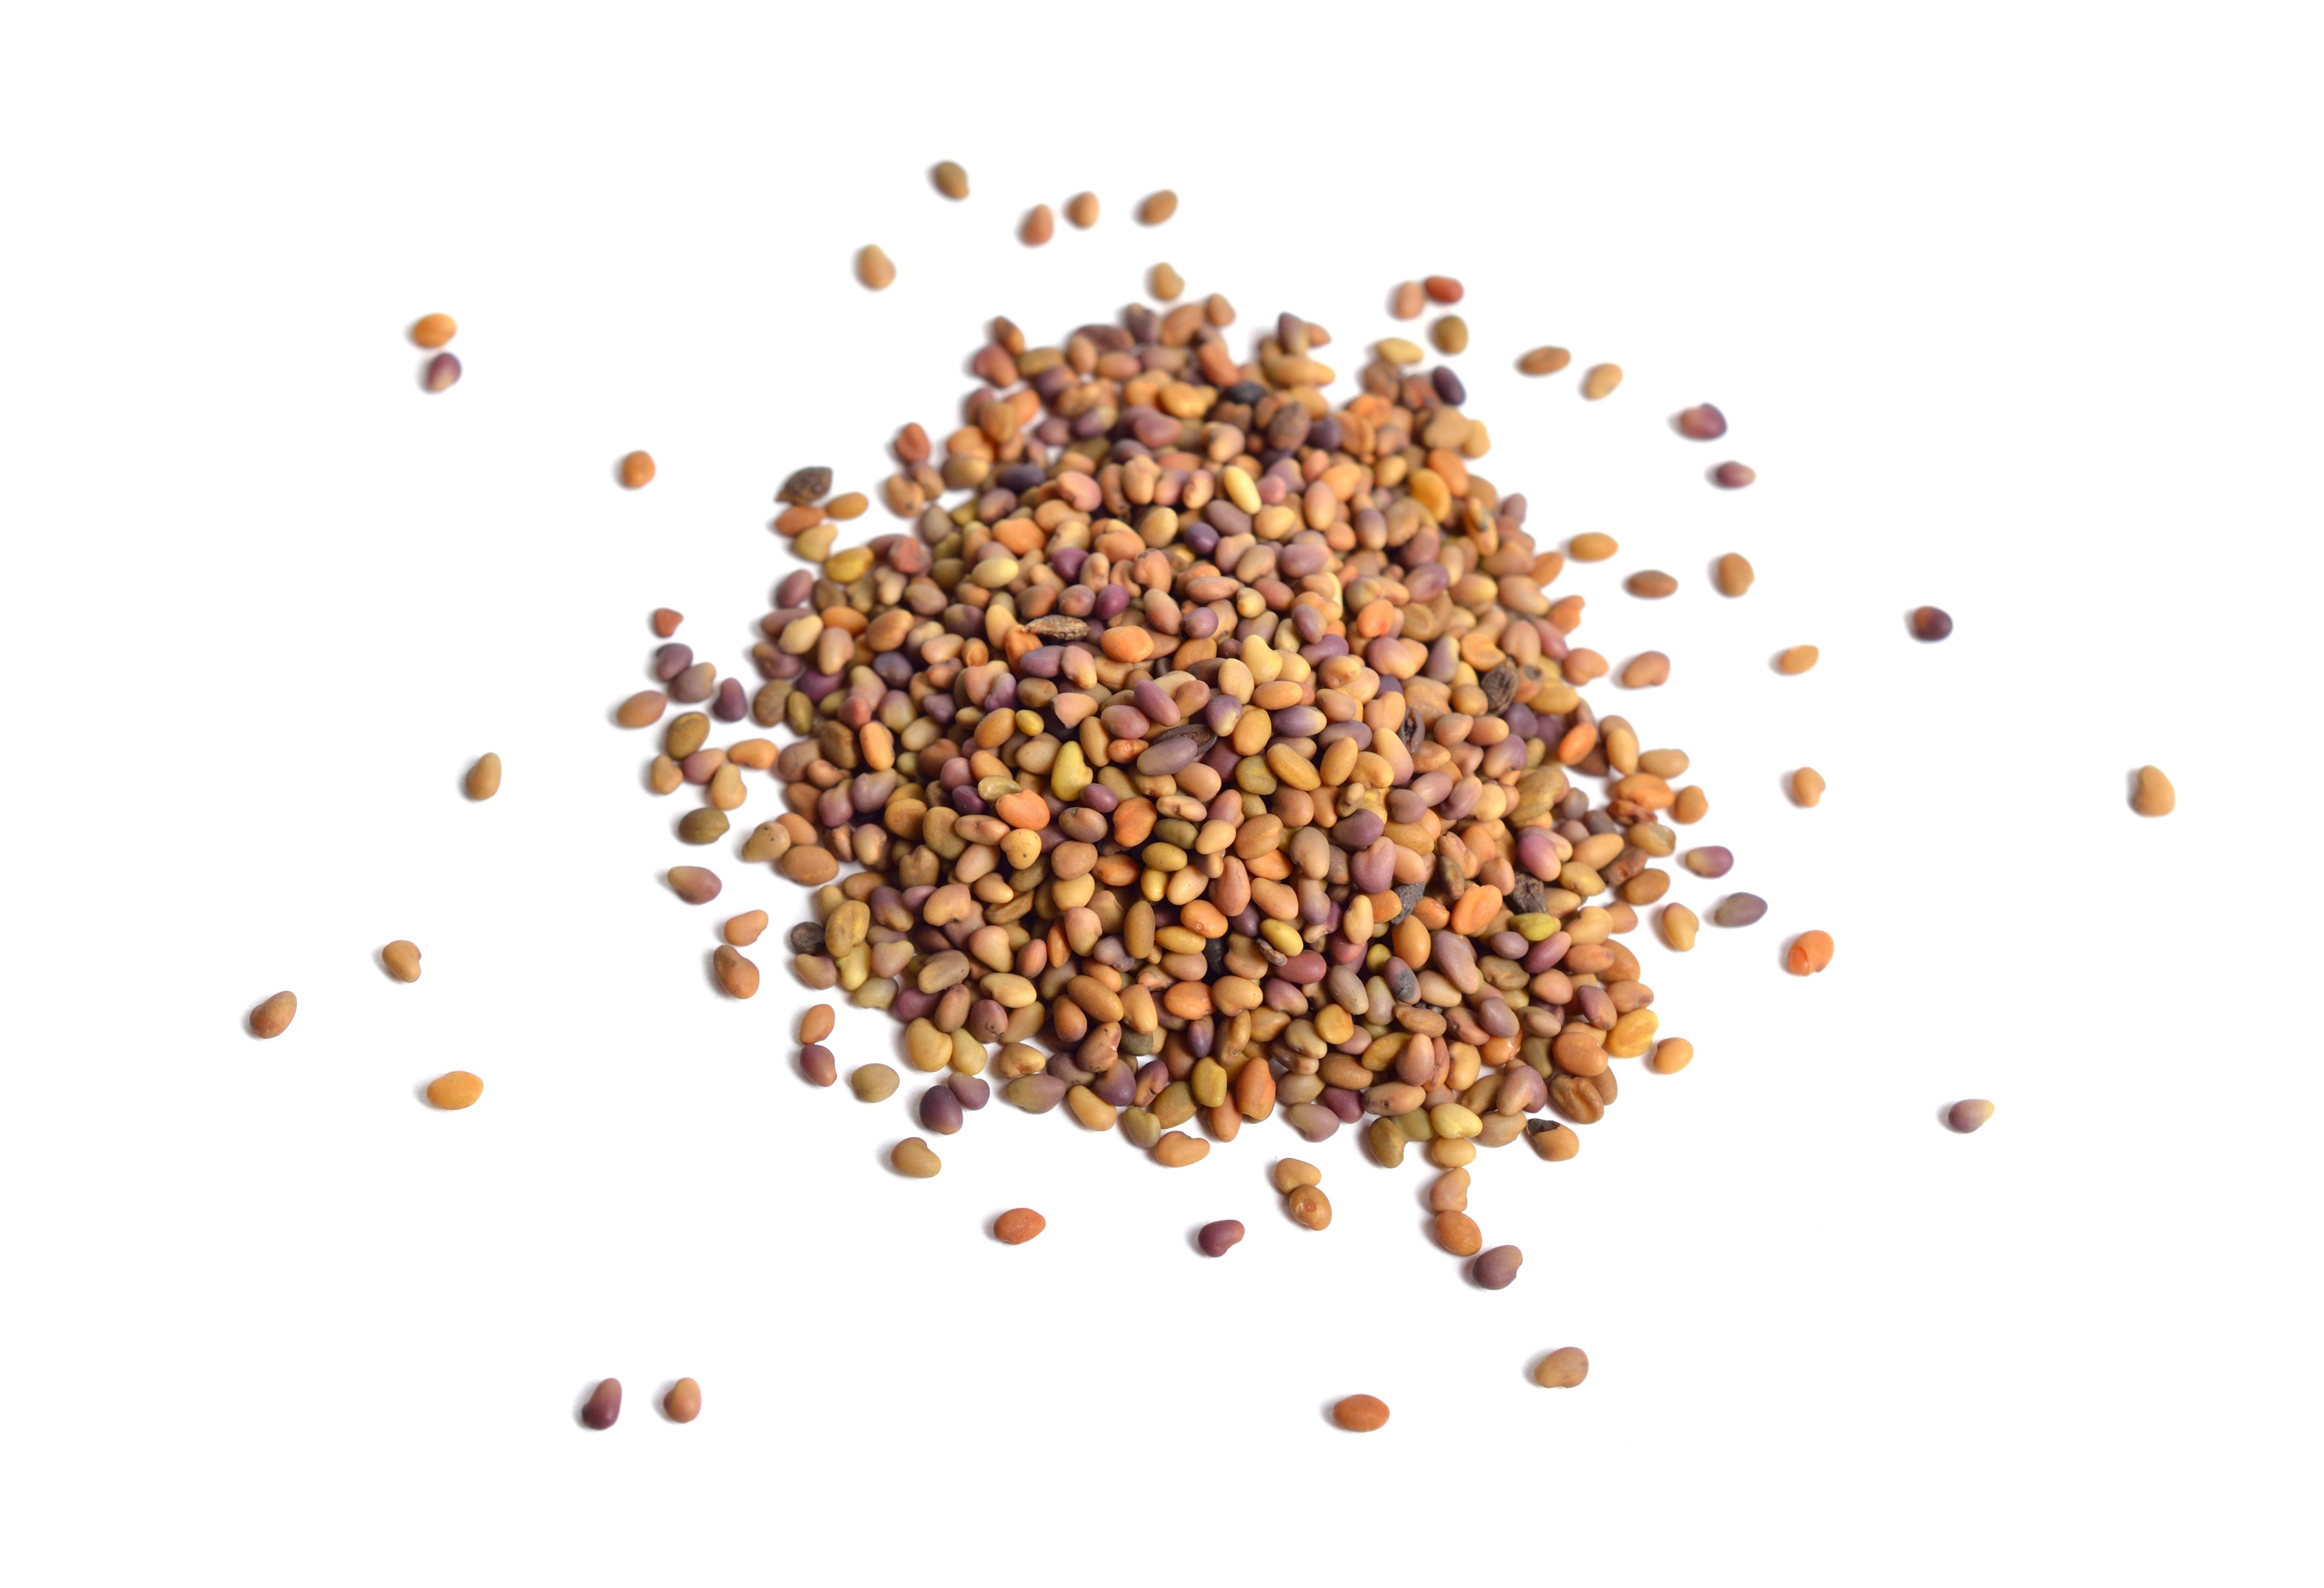
There are several types of clover to choose from, each with its own set of advantages. White clover is the most common choice for lawns due to its durability and low height. Microclover, a smaller variety of white clover, is also popular for its dense growth and minimal flower production.
When purchasing clover seeds, look for those specifically labeled for lawn use. These seeds are often pre-inoculated with beneficial bacteria that enhance growth. Be sure to buy enough seed to cover your entire lawn area; generally, 1-2 pounds of seed per 1,000 square feet is recommended.
Planting Your Clover Lawn
Planting clover seeds is straightforward but requires attention to detail for the best results. The ideal time for planting is in early spring or fall when temperatures are mild. Begin by scattering the seeds evenly over the prepared soil surface.
After spreading the seeds, gently rake them into the soil to ensure good contact with the ground. Water the area lightly but thoroughly to encourage germination. Consistent moisture is critical during this initial stage; aim to keep the soil damp without overwatering.
Caring for Your New Clover Lawn
Once your clover lawn is established, maintenance is minimal. Clover naturally suppresses weeds and does not require regular fertilization due to its ability to fix nitrogen from the air. Mowing is only necessary if you prefer a neater appearance; otherwise, let it grow for a natural look.
Watering needs are generally lower than those of grass lawns. During dry spells, occasional watering will keep your clover healthy and vibrant. Avoid using herbicides that could harm your clover plants; instead, hand-pull any unwanted weeds.
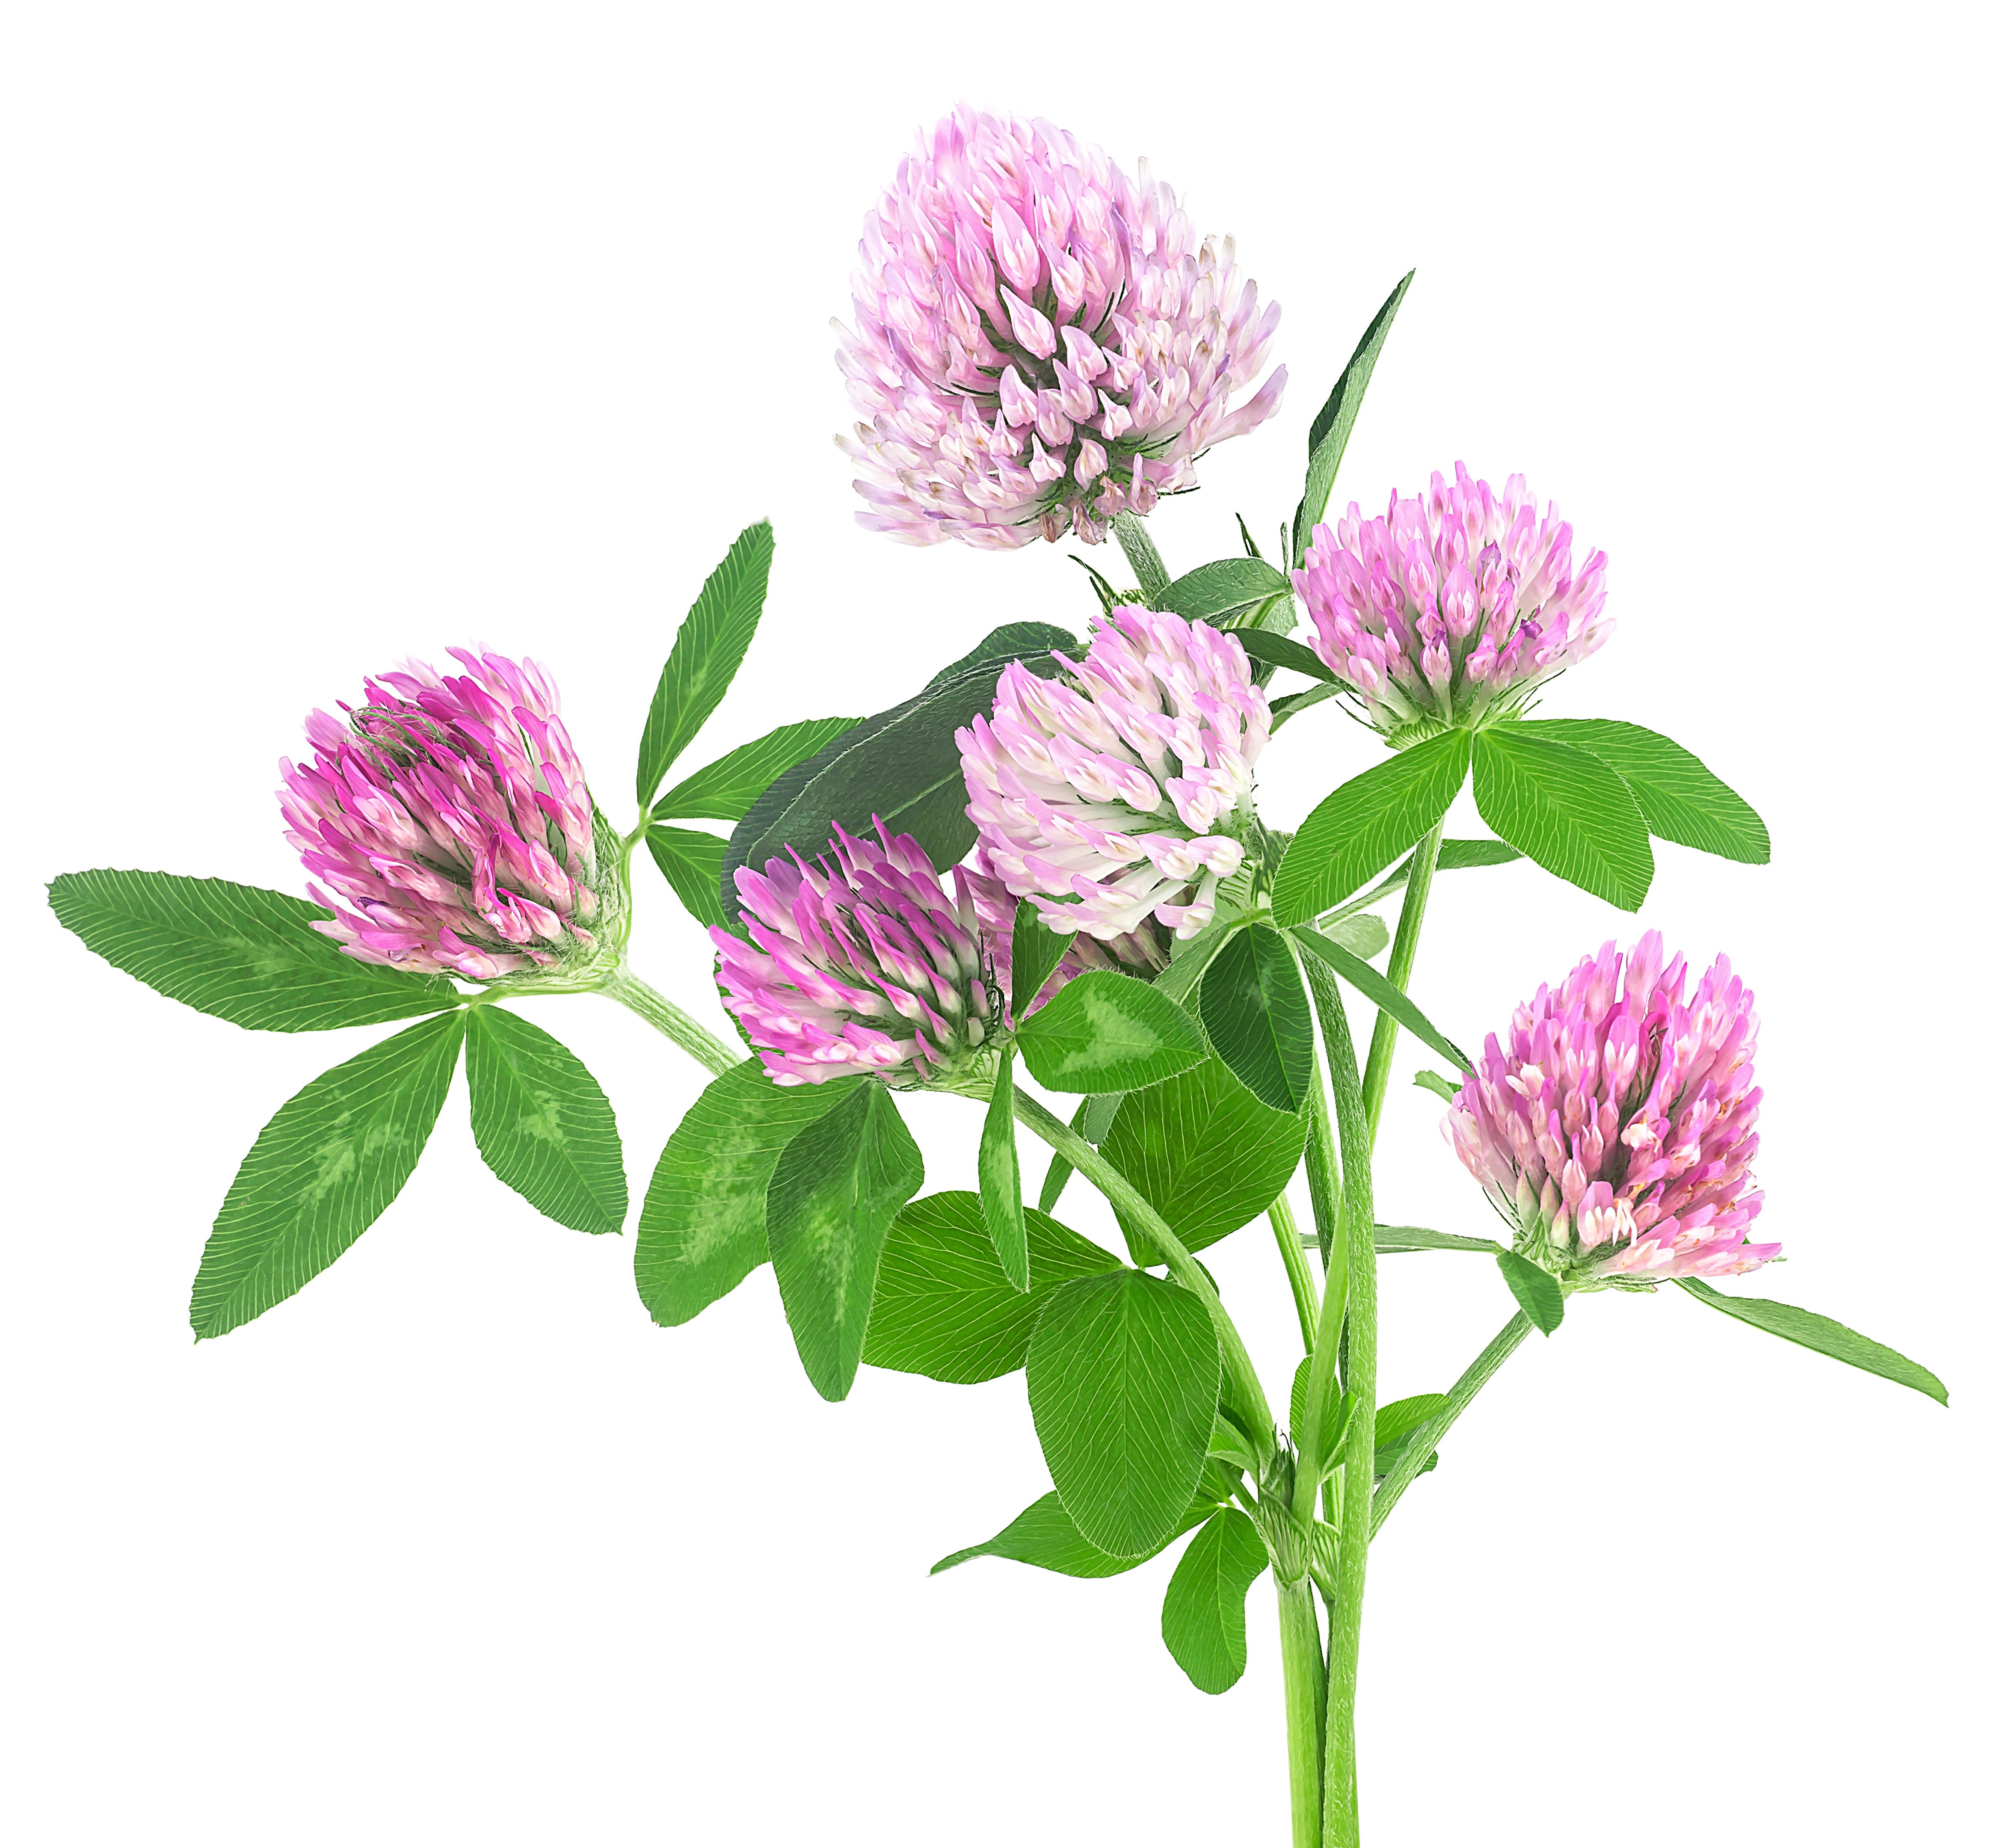
Long-Term Benefits of a Clover Lawn
A clover lawn provides numerous long-term benefits beyond its aesthetic appeal. It enhances soil health by improving fertility and structure, supporting beneficial microbial life in the process. Clover's ability to fix nitrogen reduces the need for synthetic fertilizers, promoting a sustainable landscape.
Furthermore, a clover lawn can attract pollinators such as bees and butterflies, contributing positively to local biodiversity. By choosing clover over traditional grass, you contribute to environmental conservation efforts while enjoying a beautiful and resilient lawn.